How to Install Shed Guttering: A Simple DIY Guide

Protecting your garden shed from water damage starts with proper shed guttering. Homeowners across the United Kingdom can easily tackle this DIY guttering installation project with the right knowledge and tools. Effective guttering prevents water from pooling around your shed’s foundation, reduces soil erosion, and helps preserve your valuable outdoor storage space.
DIY guttering installation might seem challenging, but with our comprehensive guide, you’ll learn how to safeguard your shed efficiently. Rainwater management is crucial for maintaining the structural integrity of your garden building and preventing potential long-term damage.
Inhaltsverzeichnis
Key Takeaways
- Shed guttering protects against water damage
- DIY installation is achievable for most homeowners
- Proper drainage prevents foundation erosion
- Regular maintenance extends guttering lifespan
- Rainwater harvesting becomes possible with good guttering
- Minimal tools required for installation
- Cost-effective home improvement project
Essential Tools and Materials for Shed Guttering
Preparing for a shed guttering project requires careful selection of shed guttering tools and guttering materials. Successful installation depends on having the right equipment and understanding the various components needed for a robust water management system.
Professional DIY enthusiasts know that proper preparation is key to a seamless guttering installation. Your toolkit and material selection will determine the quality and longevity of your shed’s drainage system.
Required Tools for Installation
- Power drill with multiple drill bits
- Spirit level for precise alignment
- Hacksaw for cutting guttering materials
- Measuring tape
- Ladder
- Protective gloves
- Safety glasses
Types of Guttering Materials
| Material | Durability | Cost | Maintenance |
|---|---|---|---|
| PVC Guttering | Moderate | Low | Minimal |
| Aluminium Guttering | High | Medium | Low |
| Steel Guttering | Very High | High | Moderate |
Additional Supplies Needed
Beyond the primary shed guttering tools, you’ll need supplementary materials to ensure a comprehensive installation:
- Gutter sealant
- Downpipe connectors
- Gutter brackets
- Waterproof screws
- Optional: Gutter guards for debris protection
Most guttering materials and shed guttering tools can be purchased from local DIY shops or reputable online retailers. Investing in quality equipment will save time and prevent potential future repairs.
Planning Your Shed Guttering Installation
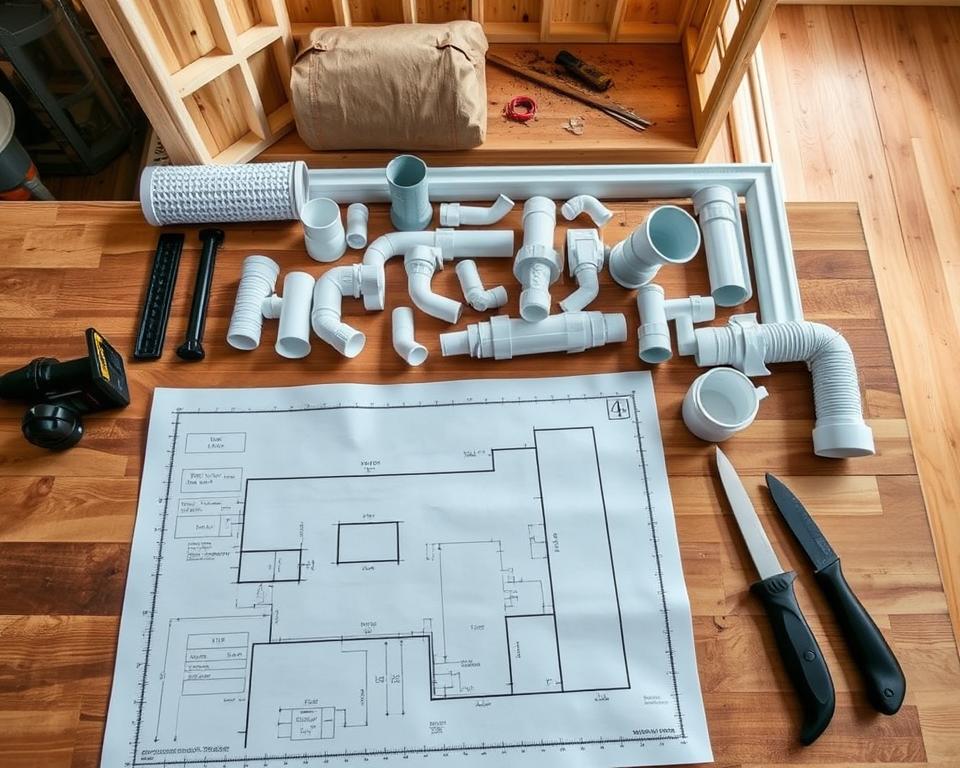
Creating a comprehensive shed guttering plan is the foundation of a successful installation. Your gutter installation preparation requires careful consideration of several crucial factors to ensure optimal performance and longevity.
Before diving into the project, assess your shed’s specific characteristics. The roof pitch, local rainfall patterns, and structural design will significantly influence your guttering strategy. A well-thought-out shed guttering plan can prevent water damage and protect your shed’s foundation.
- Evaluate the shed’s roof angle and surface area
- Measure total roof length for accurate guttering requirements
- Check local building regulations
- Consider seasonal weather conditions
Gutter installation preparation involves more than just measurements. You’ll need to consider:
| Planning Aspect | Key Considerations |
|---|---|
| Drainage Direction | Determine optimal water flow away from shed foundation |
| Material Selection | Choose guttering compatible with shed structure |
| Safety Preparations | Ensure proper ladder and personal protective equipment |
Pro tip: Take time during the planning stage to prevent potential installation challenges later.
Proper planning transforms a challenging DIY project into a smooth, successful installation.
Measuring and Calculating Shed Guttering Requirements
Accurate shed gutter measurements are crucial for creating an effective drainage system. Getting the right guttering calculations can prevent water damage and ensure proper water management for your shed.

Preparing for your guttering project requires careful planning and precise measurements. Understanding the key aspects of shed gutter measurements will help you create a reliable water management system.
Determining Gutter Length
To calculate the correct gutter length, follow these essential steps:
- Measure the total roof perimeter of your shed
- Add an extra 10% for potential overlaps
- Consider the roof’s pitch and surface area
Calculating Downpipe Positions
Proper downpipe placement is critical for effective water drainage. Consider these guttering calculations when positioning downpipes:
- Assess the roof’s slope and water runoff patterns
- Space downpipes every 6-8 metres for optimal drainage
- Ensure downpipes direct water away from the shed’s foundation
Understanding Fall Rates
Fall rates are essential for ensuring water flows correctly through your guttering system. A minimum fall of 1:500 is recommended for effective water drainage. This means for every 500 horizontal units, the gutter should drop by 1 unit to maintain proper water flow.
Professional guttering calculations take into account your specific shed design, local rainfall patterns, and structural considerations to create an efficient water management system.
Preparing Your Shed for Guttering Installation
Successful shed preparation is crucial before installing guttering. Professional DIY enthusiasts understand that pre-installation checks can prevent future complications and ensure a smooth installation process.
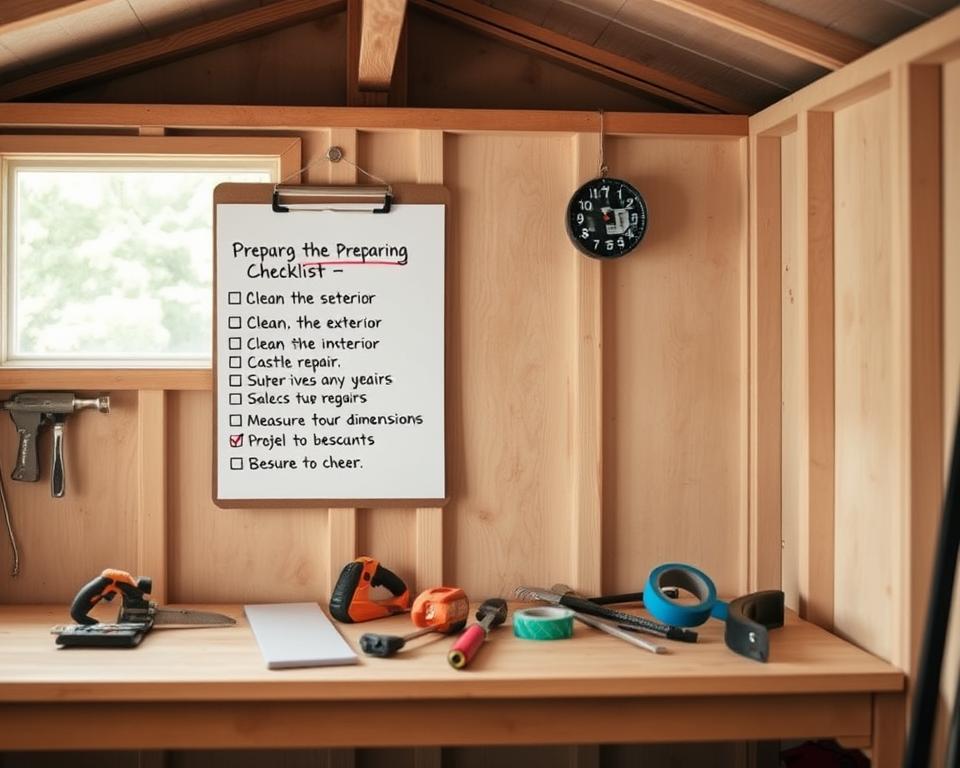
Your shed preparation involves several critical steps. Start by carefully inspecting the fascia board and roof edge for any damage or wear. Structural integrity is paramount for secure guttering installation.
- Examine fascia board for rot or deterioration
- Check roof edge alignment
- Ensure surfaces are clean and dry
- Verify structural support is adequate
Safety must be your primary concern during pre-installation checks. Use a sturdy ladder and wear appropriate protective equipment. Stabilise the ladder on level ground and have someone spot you during inspection and installation.
| Preparation Task | Difficulty Level | Time Required |
|---|---|---|
| Fascia Board Inspection | Easy | 15-30 minutes |
| Roof Edge Assessment | Medium | 30-45 minutes |
| Surface Cleaning | Easy | 15-20 minutes |
Before proceeding, gather all necessary tools and materials. Thorough shed preparation reduces potential installation challenges and guarantees a professional-quality result.
Installing Gutter Brackets and Support Systems
Proper gutter bracket installation is crucial for maintaining an effective shed guttering system. Shed guttering supports play a vital role in ensuring your drainage works efficiently and protects your shed from water damage.
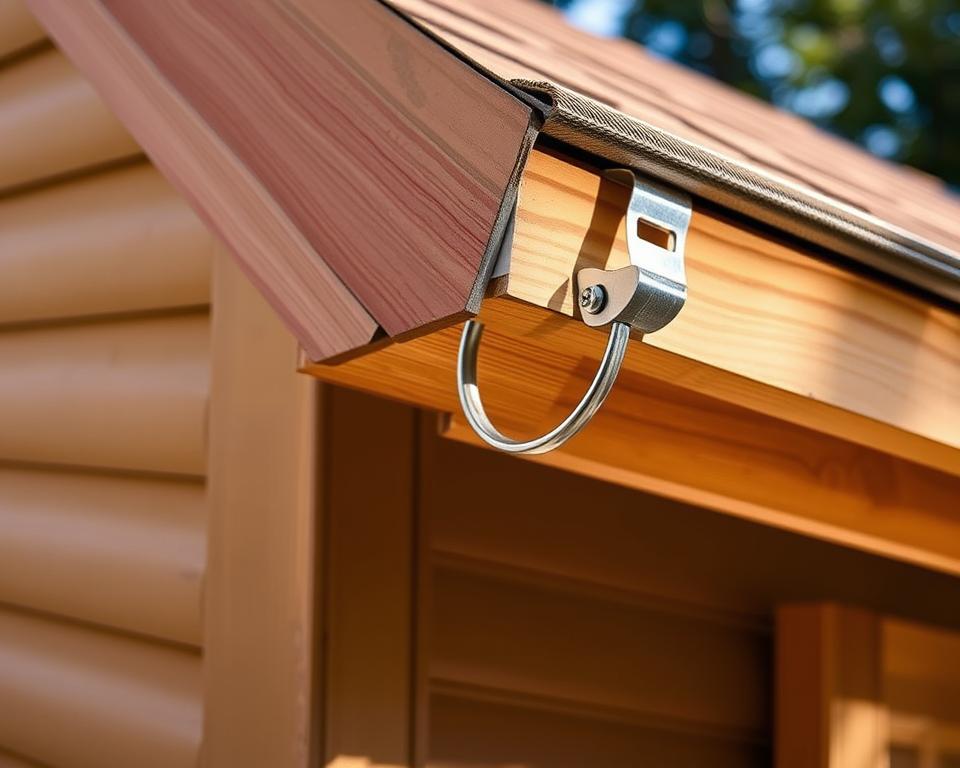
Successful gutter bracket installation requires careful planning and precise execution. The right approach will prevent future water-related issues and extend the lifespan of your shed’s guttering system.
Bracket Spacing Guidelines
When installing shed guttering supports, follow these essential spacing recommendations:
- Standard spacing: 60-90 cm between brackets
- Heavy rainfall areas: Reduce spacing to 45-60 cm
- Lightweight guttering: Maximum 1-metre intervals
Securing Brackets Properly
Achieving a secure gutter bracket installation involves several key steps:
- Use stainless steel screws for corrosion resistance
- Ensure brackets are level and aligned
- Attach firmly to solid fascia board
- Check for adequate support at each connection point
Testing Bracket Alignment
After installing your shed guttering supports, perform a simple alignment test. Pour water through the gutter and observe the flow. Proper installation ensures water moves smoothly towards the downpipe without pooling or leaking.
Fitting and Connecting Shed Guttering Sections
Connecting guttering sections requires precision and careful attention to detail. Proper gutter fitting ensures your shed remains protected from water damage and maintains a professional appearance.
Before beginning the installation, gather these essential tools:
- Measuring tape
- Hacksaw or gutter cutting tool
- Waterproof sealant
- Gutter connectors
- Protective gloves
Start by carefully measuring the length of your shed’s roofline. Cut your guttering sections to the precise measurements, ensuring clean and straight edges. Accuracy is crucial for effective water drainage.
When connecting guttering sections, follow these key steps:
- Clean the gutter edges thoroughly
- Apply a thin layer of waterproof sealant
- Use gutter connectors to join sections securely
- Press firmly to ensure a tight seal
- Wipe away any excess sealant
Pay special attention to the joints between guttering sections. Proper gutter fitting at these points prevents leaks and potential water damage to your shed’s foundation. Check that each connection is level and aligned correctly.
Pro tip: Always test the water flow after installation to confirm seamless connections.
With careful installation and attention to detail, you’ll create a robust guttering system that protects your shed for years to come.
Installing Downpipes and Drainage Solutions
Proper shed downpipes are crucial for protecting your shed’s structure and preventing water damage. Effective guttering drainage solutions ensure rainwater is safely directed away from your shed’s foundation, maintaining its integrity and longevity.
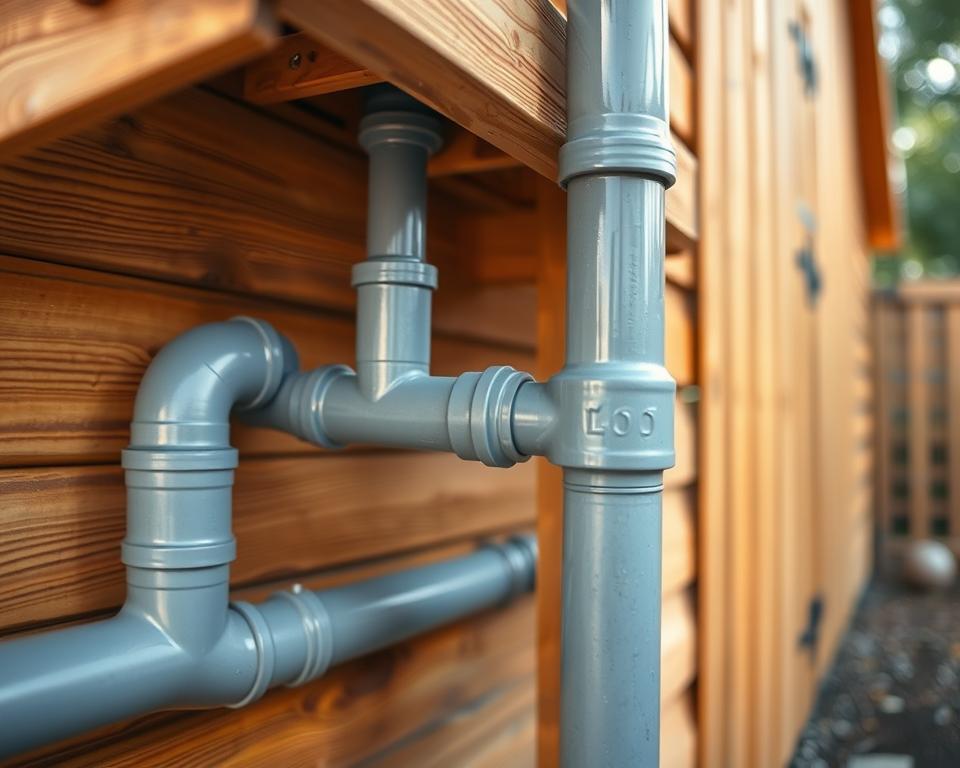
The success of your shed’s water management system depends on strategic downpipe placement and secure installation. Understanding the correct techniques will help you create a robust drainage system that protects your outdoor structure.
Downpipe Placement Techniques
Selecting the right location for shed downpipes requires careful consideration. Key factors include:
- Avoiding wall obstructions
- Ensuring direct water flow
- Minimising potential splash damage
- Maintaining aesthetic appeal
Connecting to Ground Drainage
Connecting downpipes to ground drainage systems involves several critical steps. You’ll want to:
- Identify appropriate ground drainage points
- Use flexible connectors if needed
- Ensure a gradual slope for water flow
- Consider installing water butts for rainwater harvesting
Securing Downpipe Clips
Properly securing shed downpipes prevents potential damage and ensures long-term stability. Use robust clips designed for exterior conditions, spacing them at regular intervals to support the entire length of the downpipe.
Pro tip: Choose weather-resistant clips that can withstand UK climate variations and provide maximum support for your guttering drainage solutions.
Maintenance Tips for Your Shed Guttering System
Proper shed gutter maintenance is crucial for protecting your outdoor structure and preventing water damage. Regular guttering care ensures your shed remains in top condition throughout the year. Implementing a consistent maintenance routine can significantly extend the lifespan of your guttering system.
Essential maintenance tasks include:
- Cleaning gutters at least twice annually
- Checking for debris and potential blockages
- Inspecting for signs of wear or damage
- Ensuring proper water drainage
Seasonal checks are particularly important for effective shed gutter maintenance. Before winter arrives, conduct a thorough inspection to prevent potential issues caused by freezing temperatures and heavy rainfall.
“A little preventative maintenance goes a long way in protecting your shed’s structural integrity.” – Garden Care Expert
Key maintenance steps for guttering care include:
- Remove leaves, twigs, and natural debris
- Check for rust or corrosion
- Tighten loose brackets and connections
- Repair any small cracks or leaks immediately
Consider using a sturdy ladder and wearing protective gloves during your maintenance routine. If you’re uncomfortable with heights or lack proper equipment, it’s wise to seek professional assistance for a comprehensive guttering care check.
Conclusion
Completing a DIY shed guttering project brings immense satisfaction and practical benefits for your outdoor storage space. By following the steps outlined in this guide, you’ve learned how to protect your shed from water damage and create an efficient rainwater management system.
The gutter installation benefits extend far beyond simple water diversion. Your newly installed guttering will help preserve the structural integrity of your shed, prevent soil erosion around the foundation, and even provide an opportunity for rainwater harvesting for garden use. The skills you’ve developed through this DIY shed guttering project will serve you well in future home improvement endeavours.
Remember that regular maintenance is key to ensuring your guttering system remains effective. Periodic cleaning and inspection will help you catch potential issues early and maintain optimal performance. If you encounter any challenges during installation or maintenance, don’t hesitate to seek advice from local hardware experts or professional contractors.
We hope this guide has empowered you to tackle your shed guttering project with confidence. Your hard work and attention to detail will pay off in protecting your shed and enhancing its functionality for years to come.
FAQ
How long does it take to install shed guttering?
Most DIY enthusiasts can complete a shed guttering installation in approximately 2-4 hours, depending on the shed size and your experience level. For beginners, it’s best to allow a full day to ensure careful and precise installation.
What tools do I need for shed guttering installation?
Essential tools include a spirit level, drill, measuring tape, hacksaw, ladder, screwdriver, and safety equipment like gloves and protective eyewear. Having these tools prepared beforehand will make the installation process much smoother.
Can I install guttering on an old shed?
Yes, you can install guttering on an older shed, but first inspect the fascia board and roof edges for any damage or rot. You may need to repair or reinforce these areas before installing new guttering to ensure a secure and effective system.
What’s the best material for shed guttering?
PVC guttering is often recommended for sheds due to its affordability, lightweight nature, and resistance to rust. However, aluminium and metal guttering can also be excellent choices, depending on your specific shed and local weather conditions.
How often should I clean my shed gutters?
We recommend cleaning shed gutters at least twice a year – once in late autumn after leaf fall and again in early spring. This helps prevent blockages and ensures proper water drainage, protecting your shed from potential water damage.
Do I need planning permission to install shed guttering?
In most cases, installing guttering on a garden shed does not require planning permission. However, it’s always best to check local regulations, especially if your shed is in a conservation area or has specific height restrictions.
How do I prevent my shed gutters from leaking?
Prevent leaks by ensuring proper bracket installation, using appropriate sealant at joints, maintaining the correct fall rate (slight slope), and regularly checking and maintaining your guttering system. Proper installation and maintenance are key to leak prevention.
Can I collect rainwater from my shed gutters?
Absolutely! Installing a water butt at the downpipe is an excellent way to collect rainwater for garden use. This eco-friendly approach can help you save on water bills and provide natural irrigation for your plants.
What slope should shed guttering have?
Shed guttering should have a slight fall of approximately 1-2 centimetres for every 3-4 metres of gutter length. This ensures water flows towards the downpipe efficiently and prevents water pooling in the guttering.
How much does shed guttering typically cost?
Shed guttering costs can vary, but typically range from £20 to £100 depending on the material, length, and quality. DIY installation can help keep costs down, with most homeowners spending around £50-£150 for a complete guttering system for a standard garden shed.

