How to Install Shed Felt: A Step-by-Step Guide to Weatherproof Your Garden Shed

Protecting your garden shed from harsh British weather begins with proper shed felt installation. Whether you’re a seasoned DIY enthusiast or a weekend warrior, learning to waterproof your garden shed is an essential skill that can save you from costly repairs and structural damage.
Shed felt serves as a critical barrier against rain, wind, and moisture, ensuring your garden shed remains dry and structurally sound. With the right techniques and materials, you can transform a vulnerable wooden structure into a robust storage space that withstands the unpredictable UK climate.
Inhaltsverzeichnis
Key Takeaways
- Shed felt provides critical weather protection for garden sheds
- Proper installation prevents water damage and extends shed lifespan
- DIY shed felt application is achievable with correct tools and techniques
- Regular maintenance ensures long-term shed roof performance
- Quality shed felt materials are crucial for effective weatherproofing
Understanding Shed Felt and Its Importance for Weather Protection
Shed felt represents a critical component in protecting garden buildings from the unpredictable British weather. This protective material serves as a vital barrier against rain, wind, and moisture, ensuring your garden shed remains dry and structurally sound throughout the year.
Roofing felt provides an essential layer of defence for garden structures, preventing water penetration and potential structural damage. The right shed felt can significantly extend the lifespan of your outdoor building.
Types of Shed Felt in the UK Market
Garden shed owners can choose from several roofing felt options:
- Mineral Felt: Most durable option with stone chippings for extra protection
- Torch-on Felt: Heat-applied membrane with excellent waterproofing
- Lightweight Bitumen Felt: Cost-effective solution for smaller sheds
Benefits of Quality Roofing Felt
Investing in high-quality shed felt offers multiple advantages:
- Superior weather protection against rain and moisture
- Enhanced durability of shed structure
- Prevention of wood rot and structural decay
- Improved thermal insulation
Lifespan and Durability Considerations
The longevity of shed felt depends on material quality and maintenance. Typically, well-installed roofing felt can protect your garden building for 5-10 years, with some premium options lasting even longer.
Regular inspections and timely repairs will help maximise the protective capabilities of your shed felt, ensuring optimal weather protection for your valuable outdoor storage space.
Essential Tools and Materials Needed for Installation
Preparing for shed felt installation requires gathering the right installation tools and materials. Having everything ready beforehand ensures a smooth and efficient roofing project for your garden shed.

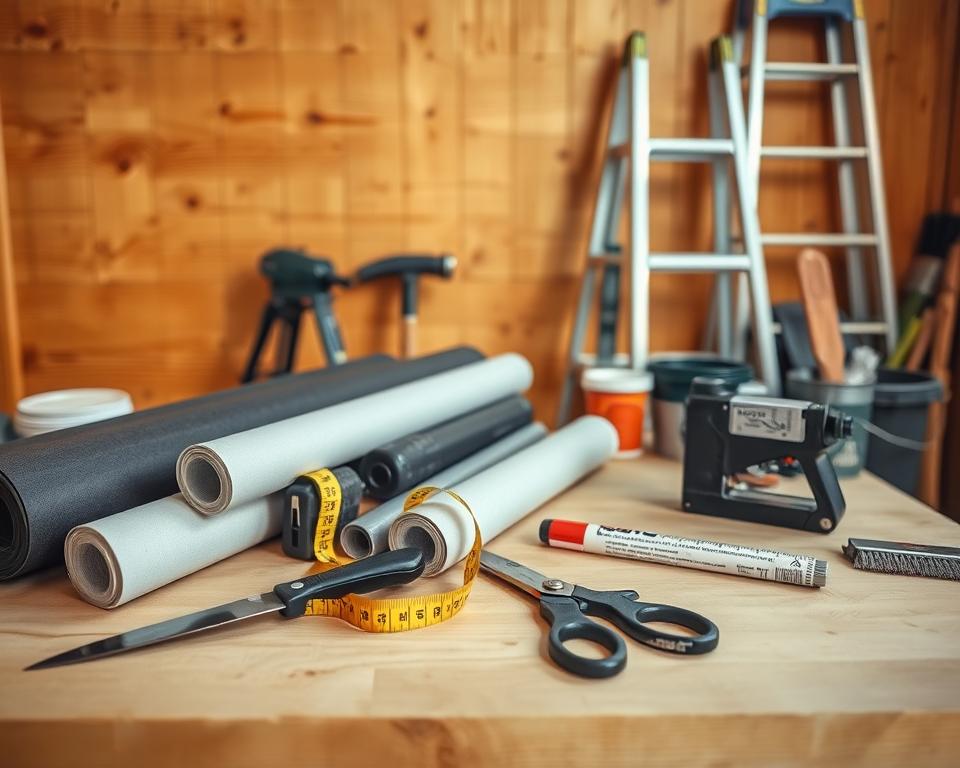
The essential toolkit for shed felt installation includes several key items:
- Measuring tape for accurate dimensions
- Sharp utility knife for precise shed felt cutting
- Hammer for securing roofing nails
- Roofing felt nails
- Protective gloves
- Safety goggles
When selecting shed felt, choose high-quality materials designed for UK weather conditions. Look for robust, waterproof options that offer excellent protection against rain and moisture.
Your materials checklist should include:
- High-grade shed felt rolls
- Roofing felt adhesive
- Sandpaper for surface preparation
- Wood preservative (optional)
Professional tip: Invest in quality installation tools to ensure a long-lasting, watertight shed roof. Cheaper tools might compromise your installation and lead to potential water damage.
Proper preparation and the right tools are the foundation of a successful shed felt installation.
Preparing Your Shed Roof for New Felt Installation
Proper roof preparation is crucial for a successful shed felt installation. Before applying new roofing material, you’ll need to carefully prepare the surface to ensure maximum protection and longevity of your garden shed.

A comprehensive roof preparation process involves several critical steps that will set the foundation for a watertight roof covering:
- Clear away existing damaged shed felt
- Remove all debris and loose materials
- Inspect roof boards for structural integrity
- Repair any damaged wooden surfaces
- Create a smooth, clean working surface
Removing Old Felt and Debris
Start by carefully stripping away the existing shed felt. Use a utility knife to cut the material into manageable sections. Remove all nails and staples completely to prevent future punctures in the new roofing felt.
Inspecting and Repairing Roof Boards
Carefully examine the roof boards for any signs of damage. Look for rot, warping, or structural weaknesses that could compromise your new shed felt installation. Replace any damaged boards to create a solid foundation for the new roofing material.
Creating a Clean Working Surface
Roof preparation requires a meticulously clean surface. Use a stiff brush to remove dirt, dust, and loose particles. Sand down any rough areas to ensure a smooth base for your new shed felt. A clean, even surface is essential for proper adhesion and long-lasting weather protection.
Pro tip: Always wear protective gloves and safety glasses during roof preparation to prevent injury.
By investing time in thorough roof preparation, you’ll ensure a professional-quality shed felt installation that protects your garden shed for years to come.
Measuring and Cutting Shed Felt to Size
Preparing shed felt for installation requires precision and careful planning. Accurate measuring and cutting are crucial steps that determine the quality of your roof covering. Taking time to measure correctly will save you potential headaches during the installation process.
Before beginning your shed felt project, gather these essential measuring tools:
- Measuring tape
- Sharp utility knife
- Straight edge or metal ruler
- Chalk line
- Protective gloves
When measuring shed felt, follow these key steps:
- Measure the roof’s length and width precisely
- Add an extra 10-15 cm to each side for proper overhang
- Account for roof pitch and angle
Cutting shed felt requires a steady hand and careful technique. Always measure twice and cut once to avoid wasting materials. Use a sharp utility knife and a metal straight edge to ensure clean, straight cuts.
| Roof Size | Felt Required | Recommended Overhang |
|---|---|---|
| Small Shed (2m x 2m) | 4.5m² | 15 cm |
| Medium Shed (3m x 3m) | 10m² | 20 cm |
| Large Shed (4m x 4m) | 18m² | 25 cm |
Pro tip: When cutting shed felt, work on a flat, clean surface. Lay the felt down smoothly, mark your measurements clearly, and use a sharp blade to achieve precise edges. Remember that clean cuts will contribute to a professional-looking roof installation.
Proper Techniques for Applying Shed Felt
Applying shed felt requires precision and careful attention to detail. The right application techniques can significantly extend the lifespan of your garden shed’s roof, protecting it from moisture and weather damage.

Professional shed felt installation involves several critical steps that ensure a watertight and durable roof covering. Understanding these techniques will help you achieve a professional-quality result.
Positioning and Alignment Tips
Accurate positioning of shed felt is crucial for effective weather protection. Follow these key guidelines:
- Start at the bottom edge of the roof
- Ensure the felt is straight and taut
- Align each strip with careful precision
- Use a chalk line for perfect alignment
Securing Methods and Overlap Requirements
Proper securing of shed felt prevents water infiltration and wind damage. The overlap technique is essential for creating a robust protective layer.
- Overlap felt strips by at least 75mm
- Use galvanised felt nails for secure attachment
- Space nails approximately 150mm apart
- Ensure each strip is firmly pressed down
Working Around Edges and Corners
Challenging areas like edges and corners require special attention during shed felt application. Cut felt carefully and use additional nails to secure tricky sections.
- Trim excess felt with a sharp utility knife
- Create neat folds at roof edges
- Use extra fixings at corner points
- Ensure smooth, wrinkle-free installation
Installing Felt on Different Shed Roof Styles
Every garden shed has a unique roof style, and understanding how to apply shed felt correctly is crucial for long-lasting weather protection. Different roof designs require specific installation techniques to ensure proper coverage and water resistance.

Garden sheds typically feature three primary roof styles, each demanding a tailored approach to shed felt installation:
- Apex Roofs: These classic triangular-shaped roofs require careful overlapping of felt sheets from the bottom edge upwards
- Pent Roofs: Single-sloped designs need precise alignment to prevent water pooling
- Hip Roofs: Complex angles demand extra attention to ensure complete coverage
When working with different roof styles, always start by measuring your specific shed roof dimensions accurately. The key to successful shed felt installation is understanding the unique characteristics of each roof design.
For apex roofs, begin at the bottom edge and work upwards, ensuring each layer overlaps by at least 75mm. Pent roofs require a slight downward slope towards the edges to facilitate water runoff. Hip roofs need careful cutting and fitting around multiple angles to maintain a watertight seal.
Pro tip: Always check manufacturer guidelines for your specific shed felt and roof style to guarantee optimal protection.
Choosing the right installation technique for your specific roof style will significantly extend the lifespan of your garden shed and protect your valuable stored items from moisture damage.
Securing Shed Felt with Proper Fixings
Choosing the right fixings is crucial for a successful shed felt installation. The correct felt nails and fixing techniques ensure your shed remains weatherproof and protected against the unpredictable British climate.

Proper fixings play a vital role in keeping shed felt securely in place. Professional roofers understand that the right nails can make all the difference in preventing water ingress and maintaining the integrity of your garden shed roof.
Types of Felt Nails for Shed Felt
When selecting felt nails, you’ll want to consider several key factors:
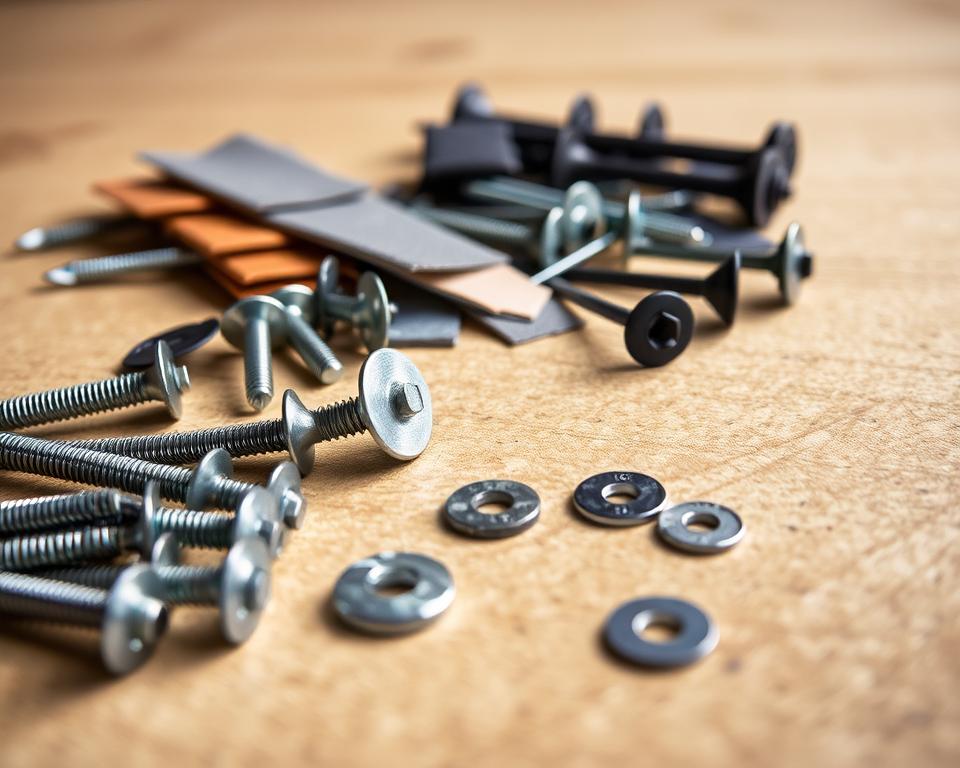
- Galvanised steel nails for maximum corrosion resistance
- Clout nails specifically designed for roofing felt
- Copper or aluminium nails for specialist roofing applications
Spacing and Fixing Guidelines
Correct nail spacing is essential for a robust shed felt installation. Follow these professional recommendations:
| Roof Area | Nail Spacing | Recommended Technique |
|---|---|---|
| Roof Edges | 50mm intervals | Double nailing for extra security |
| Central Roof Area | 100-150mm intervals | Consistent, even placement |
| Overlapping Sections | 25mm from edge | Ensure complete coverage |
By carefully selecting appropriate felt nails and following precise fixing guidelines, you’ll create a watertight seal that protects your shed from moisture and extends the lifespan of your roofing felt.
Common Installation Mistakes to Avoid
Installing shed felt might seem straightforward, but several common mistakes can compromise your roof’s integrity and weather protection. Recognising these potential pitfalls will help ensure a successful shed felt installation.
DIY enthusiasts often make critical errors that can lead to significant water damage and reduced roof lifespan. Understanding these installation mistakes is crucial for maintaining your garden shed’s structural integrity.
- Inadequate surface preparation: Failing to clean and repair roof boards before shed felt installation can create uneven surfaces and potential water traps
- Incorrect overlap techniques that prevent proper water runoff
- Using inappropriate fixing methods for shed felt
- Neglecting to seal edges and corners properly
One of the most frequent shed felt installation mistakes is improper alignment. Homeowners should ensure felt sheets are carefully positioned with consistent overlaps to prevent water penetration. Typically, a minimum 75mm overlap is recommended for optimal protection.
Another critical error involves using substandard fixing techniques. Felt nails should be placed strategically, with appropriate spacing to secure the material without causing unnecessary damage to the roof structure.
Precision and patience are key to a successful shed felt installation.
Professional roofers suggest taking time during preparation and installation to avoid costly repairs later. Rushing the process often leads to gaps, wrinkles, and potential water ingress that can compromise your shed’s protection.
Maintaining Your Newly Felted Shed Roof
Protecting your shed felt is crucial for ensuring the longevity and performance of your garden building. Regular maintenance can prevent costly repairs and extend the life of your shed roof significantly.
Proper shed felt maintenance involves a strategic approach to keeping your roof in top condition. Neglecting routine care can lead to water damage, structural issues, and premature roof failure.
Regular Inspection Schedule
Establishing a consistent inspection routine is key to shed felt preservation. Experts recommend checking your shed roof at least twice a year:
- Spring: After winter weather challenges
- Autumn: Before harsh winter conditions arrive
Key Maintenance Checks
During your inspections, focus on these critical areas of shed felt maintenance:
- Look for visible tears or lifting edges
- Check for water penetration signs
- Examine nail or fixing points
- Inspect for moss or algae growth
Addressing Repairs Promptly
When you discover damage to your shed felt, immediate action prevents more extensive problems. Small repairs can typically be managed with:
| Damage Type | Recommended Repair Method |
|---|---|
| Small Tears | Roofing sealant or patch kit |
| Lifting Edges | Reattach with appropriate fixings |
| Water Damage | Replace affected felt sections |
Pro tip: Always keep spare shed felt and basic repair materials on hand for quick fixes.
Conclusion
Installing shed felt is a practical skill that safeguards your garden shed from harsh British weather. By following this comprehensive installation guide, you’ve learned critical techniques for applying shed felt that will protect your outdoor structure for years to come.
The shed felt installation process requires precision and attention to detail. From selecting the right materials to understanding proper alignment and securing methods, you now possess the knowledge to create a robust, weatherproof roof that resists moisture, prevents structural damage, and extends the lifespan of your garden shed.
With the skills gained from this guide, you can confidently tackle your shed felt project. Remember that regular maintenance and periodic inspections will help preserve the integrity of your roof. Your investment in quality materials and careful installation will pay dividends by keeping your garden shed dry, secure, and looking pristine through changing seasons.
Whether you’re a DIY enthusiast or a first-time shed owner, this installation guide empowers you to protect your outdoor storage space effectively. Take pride in your newly felted roof and enjoy the peace of mind that comes with a well-maintained garden shed.
FAQ
What is shed felt and why do I need it?
Shed felt is a waterproof roofing material specifically designed to protect garden sheds from moisture, rain, and weathering. It creates a crucial barrier that prevents water penetration, helps extend the life of your shed, and prevents rotting, mould, and structural damage.
How often should I replace shed felt?
Typically, shed felt should be replaced every 3-5 years, depending on the quality of the material and exposure to harsh weather conditions. Regular inspections can help you determine when replacement is necessary, looking for signs of wear, tears, or lifting edges.
Can I install shed felt myself?
Absolutely! With the right tools, materials, and guidance, installing shed felt is a manageable DIY project. Most homeowners with basic DIY skills can complete the installation, saving money on professional services.
What tools do I need to install shed felt?
Essential tools include a hammer, felt nails, utility knife, measuring tape, ladder, and protective gloves. You’ll also need the shed felt itself, roofing adhesive, and potentially a staple gun for additional securing.
How do I choose the right shed felt?
Consider factors like durability, thickness, and weather resistance. Look for high-quality bitumen-based felt with a good weight (typically 380-1000 gauge). Choose a style compatible with your shed’s roof design and local climate conditions.
What are the most common mistakes when installing shed felt?
Common mistakes include improper measuring, insufficient overlapping, inadequate fixing, and not preparing the roof surface properly. Ensuring a clean, dry surface and carefully following installation guidelines can help avoid these pitfalls.
How do I maintain my shed felt after installation?
Conduct regular inspections at least twice a year, checking for any tears, lifting edges, or water damage. Clean the felt surface, remove any debris, and address any minor repairs promptly to extend its lifespan.
Can shed felt be used on different roof styles?
Yes, shed felt is versatile and can be used on various roof styles, including apex, pent, and flat roofs. The installation technique may vary slightly depending on the specific roof design, but the fundamental principles remain the same.
What’s the difference between shed felt and roof shingles?
Shed felt is a continuous waterproof membrane, while roof shingles are individual overlapping tiles. Felt is typically less expensive, easier to install, and provides a smooth, uniform covering. Shingles offer a more decorative finish but are usually more complex to install.
How much does shed felt cost?
Prices vary depending on quality and quantity, but typically range from £10 to £50 for standard garden shed sizes. Budget for additional materials like nails and adhesive. Remember, investing in quality felt can save money on future repairs.

